How-to
How to Lino Print: Block Printing Step by Step
Published
As an Amazon Associate we earn from qualifying purchases. This does not change our picks. Affiliate disclosure
Short answer
To lino print, draw the design reversed on the block, carve away everything that should stay white, roll a thin film of ink onto the raised surface with a brayer, lay paper on top and rub the back with a baren or wooden spoon. Peel the paper off and let it dry: about 2 hours on a warm rack for water based ink, days for oil based ink.
Gear for this job
All 7 picks comparedSGHUO Beginner Linocut Kit
See price on AmazonSee it on AmazonSpeedball Deluxe block printing kit 3472
See price on AmazonSee it on AmazonBobblebro linocut kit, 4 blocks, 2.64 oz black ink
See price on AmazonSee it on Amazon
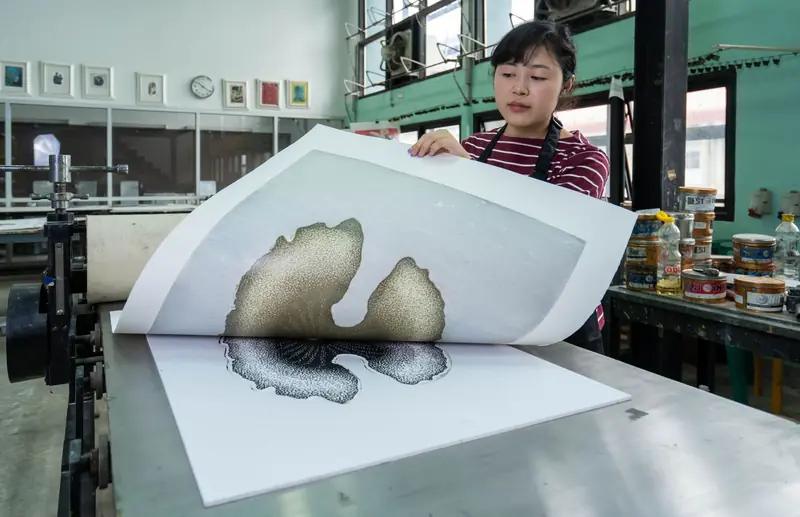
This page is for someone who has never pulled a print and wants the whole sequence in one place. Lino printing, linocut and linoleum block printing are the same craft: a relief print, where ink sits only on the surface you did not cut away. Three things decide a first print: a thin, even film of ink, thin smooth paper, and firm pressure over every part of the block. Each step below has its own detailed page, linked where the step is explained.
Block printing step by step: the 10 steps
The steps assume a one-color print on paper, printed by hand with water based block printing ink. Lay out the block, cutter, brayer, ink, slab, baren and paper before you start. The lino printing equipment list names every item and its household substitute.
- 1
Draw the design at the size of the block. What you cut away stays white, what you leave prints. Lettering and anything with a left and a right must sit on the block reversed, because the print is a mirror image of the block.
- 2
Transfer the design. Lay a soft pencil tracing face down on the block and rub the back, which flips the drawing for you. Carbon paper does not flip it, so trace from a mirrored copy.
- 3
Set the block on a bench hook or non-slip mat. Cut the outlines first with a small V tool, 1 to 2 mm wide, with the hand that holds the block kept behind the blade.
- 4
Clear the areas that stay white with a U gouge: 2 to 3 mm for tight spots, 5 mm or wider for open areas. Keep the cuts shallow. The gouge does not need to reach the backing.
- 5
Brush the crumbs off the block. Put a pea-sized amount of ink on the slab and roll it out with the brayer in several directions until the film is thin, even and velvety.
- 6
Roll the loaded brayer over the block in several light passes, turning the block 90 degrees between passes, until the whole raised surface has an even sheen.
- 7
Lower the paper onto the block in one move and do not slide it. Hold it still and rub the back with a baren or wooden spoon in small overlapping circles, over every part of the image.
- 8
Hold half of the paper down, lift one corner and look. Lay a pale area back down and rub it again. Then peel the paper off slowly from one corner while you hold the block.
- 9
Dry the print on a rack or pegged to a line, apart from other prints. Water based ink takes about 2 hours on a warm rack and up to weeks in a cold, damp room. Oil based ink takes days.
- 10
Clean up at once. Water based ink comes off the block, brayer and slab with soap and water. Wipe the block instead of soaking it, then store it flat.
Design and transfer: why the block is a mirror image
Paper lies face down on the block, so everything prints flipped left to right. A design without lettering often survives the flip. Words do not.
The transfer method decides whether you flip the drawing yourself. A pencil tracing rubbed down face down arrives reversed, and so does a laser print or photocopy ironed onto traditional lino. Carbon or graphite paper copies the drawing as it is. The guide on how to transfer a design to a linoleum block compares the methods.
How to do lino cutting: outline first, then clear
Two tools do most of the work. A V tool cuts lines and outlines, a U gouge clears the areas that stay white and leaves texture. Cut the outline, then clear up to it.
Firm gray lino holds the most detail but needs more pressure, more still when it is cold. Soft rubber blocks carve with little pressure and suit a first print. A tool that tears or skids is usually dull, or the lino is cold or old. More cutting technique is in how to carve a linoleum block.
Note.Cut away from the hand that holds the block and use a bench hook or non-slip mat. Children carve with adult supervision. No tool is injury-proof.
Rolling out ink and inking the block
Ink goes on the slab first, never straight onto the block. Start with a small amount: it is easier to add ink than to remove it. Roll until the film looks velvety and the brayer makes a light hiss. A wet squelch means too much ink on the slab.
On the block, several thin passes from different directions beat one heavy pass. Ink should sit only on the raised surface. If it fills the fine lines, there is too much on the brayer. Brayer (roller) technique is covered in how to use a brayer.
Printing by hand: paper, pressure and the pull
No press is needed for a first print. A baren is a disc for rubbing the back of the paper, and a wooden spoon is the usual substitute. Hand pressure works best on thin, smooth paper: one supplier guide gives about 40 to 160 gsm for hand burnishing and 170 to 300 gsm for a press.
Rub edges and corners as firmly as the middle, and do not let the paper shift while you rub. The full method is in how to print a linocut without a press.
How to tell the print is right
A good pull shows solid, even color where the block was left, clean white where it was carved, and single crisp edges. Check the first print against the table and change one thing at a time before the next pull.
| What you see | Usual cause | Change for the next pull |
|---|---|---|
| Pale, speckled or patchy print | Too little ink, uneven pressure, rough or heavy paper | A little more ink, firmer rubbing, thinner smooth paper |
| Filled-in lines, blobs | Too much ink | Roll the slab out thinner, lighter passes on the block |
| Double or blurred edges | Paper or block moved | Hold the paper still, keep the block on a non-slip mat |
| Ink beads on a new block | Oils on the surface | Clean the surface or sand it lightly |
Drying the prints and cleaning up
Prints dry apart from each other, never stacked. Water based block ink dries fastest in warm, dry air: Essdee gives about 2 hours on a warm rack and up to weeks in a cold, damp room. Oil based ink needs days. Figures by ink type are on the block printing ink drying times page.
Clean the tools as soon as the last print is pulled. Water based ink stays water-soluble, so soap and water are enough. Do not soak a lino block, because it can warp or swell. Wipe it, let it dry and store it flat.
First-print mistakes to avoid
Most failed first prints come from the same short list. None of them needs new equipment to fix, only a change before the next pull.
- Lettering carved the right way round. It prints backwards: reverse the design before it goes on the block.
- Too much ink. The brayer squelches, fine lines fill in and edges blob. Roll the slab out thinner.
- Thick or rough paper printed by hand. Stay near 40 to 160 gsm and keep the surface smooth.
- Rubbing only the middle. Edges and corners need the same pressure as the center of the block.
- Paper that slides when it is laid down or rubbed. It leaves double or blurred edges.
- Water based ink left to dry on the block. Print soon after inking and re-ink for every pull.
- Wet prints stacked on each other, or a block left to soak in the sink.
Quick answers
Short answers to the common questions about how to do block printing at home. The numbered steps above give the full sequence.
- How do you do linoleum block printing? Carve away what should stay white, roll ink onto the raised surface with a brayer, lay paper on the block and rub the back with a baren or spoon.
- Do you have to reverse the design? Yes. The print is a mirror image of the block, so lettering must be reversed on the block.
- Can you lino print without a press? Yes. A baren or wooden spoon prints thin, smooth paper of about 40 to 160 gsm.
- How long does a lino print take to dry? Water based ink: about 2 hours on a warm rack, up to weeks in a cold, damp room. Oil based ink: days.
- What ink do you use to make a linoleum block print? Block printing ink. Water based ink is the usual start for paper because it cleans up with soap and water.
What you need for this
- See price on AmazonAmazon
SGHUO Beginner Linocut Kit
- See price on AmazonAmazon
Speedball 4131 Linoleum Cutter Set, 5 Types
From Best Lino Cutting Tool Sets: Handles With Interchangeable Blades
- See price on AmazonAmazon
Speedball water-soluble ink set, 6 x 1.25 fl oz
- See price on AmazonAmazon
Speedball block printing baren, 4 in
From Best Barens for Linocut and Block Printing Without a Press