How-to
How to Block Print on Fabric: Ink, Heat Setting and Washing
Published
As an Amazon Associate we earn from qualifying purchases. This does not change our picks. Affiliate disclosure
Short answer
Use a fabric block printing ink. Prewash and iron the fabric, lay it on a padded surface, ink the block thinly and press it down hard by hand. Then cure the print as the ink maker says. Speedball states that its fabric ink is dry to the touch overnight with no heat set required. Essdee states that its fabric ink bonds once dried and heat set.
Gear for this job
All 6 picks comparedSpeedball Deluxe soft rubber brayer, 4 in
See price on AmazonSee it on AmazonSpeedball soft rubber brayer, 3 in
See price on AmazonSee it on AmazonQWORK soft rubber brayer, 6 in, steel frame
See price on AmazonSee it on Amazon
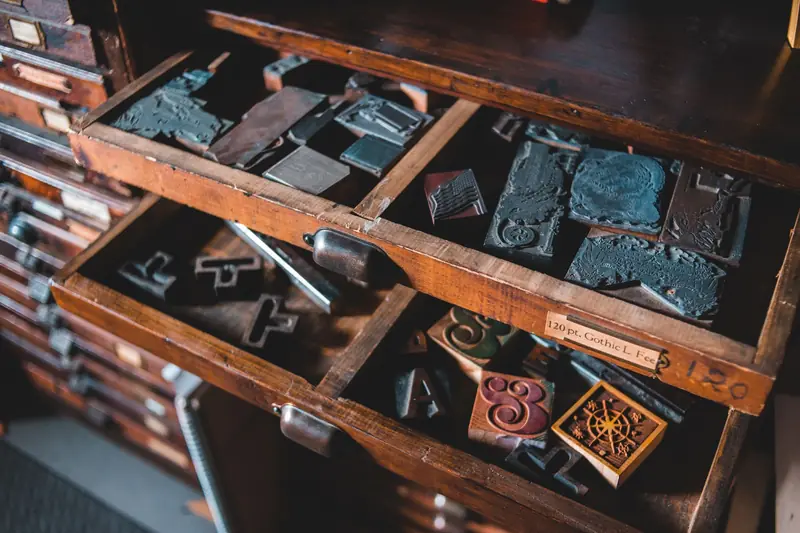
This page is for printing a T-shirt, tote bag or tea towel at home with a lino block or a soft carving block, and wanting the print to stay through the wash. It covers relief printing from a carved block, the craft also called linocut or lino printing. Three things decide the result: an ink made for fabric, enough pressure to push the ink into the weave, and curing done the way the label on that ink says. The makers give different rules, so there is no single heat setting instruction that fits every ink.
Which ink to use for block printing on fabric
Start with the ink, because it sets the curing routine. The table repeats what each maker says about its own ink. It agrees with the block printing ink chart: both fabric inks are listed as working on cotton and canvas, water-washable oil ink as possible with care, and water based ink for paper as one to avoid.
| Ink | Curing, per the maker | Before the first wash |
|---|---|---|
| Speedball Fabric Block Printing Ink | Speedball: dry to the touch overnight, no heat set required | No wait given on Speedball's page. Listings say about a week. Read the tube |
| Essdee fabric block printing ink | Essdee: bonds to the fabric once dried and then heat set | Heat set first, by the method on the label |
| Caligo Safe Wash Relief Ink (made for paper) | Cranfield: dry for several days, a hot iron on the reverse speeds it up | Cranfield's example: 7 days. Test a scrap, results not guaranteed |
| Water based block ink for paper | Essdee: not advised on fabric, the ink is not permanent | Do not use it: it washes out |
The best type of fabric for lino printing
Smooth, tightly woven natural fabric prints best. The maker statements behind the ink chart cover cotton and cotton canvas. Cranfield's fabric guide adds a point about texture: on a rough weave, solid coverage may need the pressure of a press, so for hand printing it recommends smoother, less textured material.
| Fabric | How it prints by hand | What to do |
|---|---|---|
| Plain woven cotton: tea towels, quilting cotton | Cleanest print, lines hold | Prewash and iron flat |
| Cotton canvas: tote bags, aprons | Good, but the heavier weave breaks up fine detail | Use bold designs and more pressure |
| Linen | Slubs and open weave give a broken, textured print | Pick a smooth, tight linen and test a scrap |
| Cotton blends | No maker statement was checked for blends | Print a scrap and wash it before the real piece |
| Stretchy knits: T-shirt jersey | Prints if it lies flat, distorts if stretched | Slide card inside the shirt, smooth it without pulling |
How to block print on fabric at home, step by step
Set up everything before the ink comes out: fabric ironed and laid out, block carved and brushed clean, a scrap of the same fabric for a test. Rolling out is the same as on paper: see how to use a brayer.
- 1
Prewash, dry and iron the fabric so it is flat and has already shrunk. Cranfield advises avoiding fabric that may shrink, or prewashing it.
- 2
Pad the table. Lay a folded blanket or a sheet of felt on a sturdy surface and smooth the fabric on top, print side up. For a shirt or tote, slide a sheet of card inside so ink cannot reach the back layer.
- 3
Roll the ink out thin on a slab until the brayer makes a slightly sticky sound, then ink the block in several light passes from different directions.
- 4
Print a test on the scrap first. If it is pale, add one more pass of ink and more pressure before touching the real piece.
- 5
Place the block ink side down and do not slide it. Press hard over the whole back: lean on it with both hands, roll a clean brayer or a rolling pin across it, or hit it with the side of your fist. Some printers stand on a large block.
- 6
Hold the fabric down with one hand and lift the block straight up. Re-ink the block before every print.
- 7
Leave the print flat, or hang it in a warm, dry place with moving air. Do not stack or fold it. Then cure it as the ink label says before the first wash.
- 8
Clean the block, brayer and slab at once. Speedball fabric ink cleans up with soap and water, Essdee fabric ink with water.
Note.Do not print by rubbing the back of the fabric with a spoon. Cranfield's guide advises against it because fabric shifts and the image smudges. Press the block down, or use a clean roller.
Heat setting block printing ink: what each maker says
Speedball Fabric Block Printing Ink: Speedball describes a water-washable oil base ink that dries to the touch overnight and stays permanent through the wash with no heat set required. That is the maker's statement. Speedball's product page gives no wait before the first wash. Retail listings and a supplier tutorial say about a week.
Essdee fabric block printing ink: Essdee says its fabric inks become bonded to the fabric once dried and then heat set. Its FAQ gives no iron setting or time, so take the heat setting method from the tube or box you bought. Let the print dry fully before any heat.
Caligo Safe Wash Relief Ink: Cranfield says this ink is designed for paper and takes longer to dry on fabric than a dedicated fabric ink. Its guide suggests several days of drying and says a hot iron on the reverse, with steam off, speeds drying before washing. Cranfield does not guarantee wash results and says to test a sample piece first.
How long to wait before washing, and how to wash
Dry to the touch is not ready for the wash. For Speedball fabric ink, listings say to wait about a week before the first wash, and a supplier tutorial says the same, then to wash gently. For Essdee fabric ink, wash only after heat setting. For Caligo Safe Wash on fabric, Cranfield's wash test used cotton dried for 7 days, then a 2 hour wash at 40 C (104 F), and Cranfield notes that a little color may be lost in the first wash.
Nothing on this page promises that a print will survive washing. Fabric, ink color and drying conditions all change the result. Wash the test scrap before the real piece, and follow the ink label. Drying by ink type is collected in the drying time chart.
How to tell the print is cured and ready
Check in this order. First, the print feels dry, not tacky. Second, a gentle rub lifts no color: Cranfield's guide uses a gentle rub test before ironing and washing. Third, the step on the label is done: the stated wait, or the heat set if the ink needs one. Last, the test scrap printed the same day has been washed and still looks right. If the scrap fades or smears, give the real piece more time.
Lino printing T-shirts and clothes: common problems
Prints on clothes fail in a few repeatable ways. Most trace back to pressure, to movement or to an ink that was not made for fabric.
- Pale or broken print: the weave is too textured or the pressure too low. Press harder or switch to smoother fabric. More causes are in why a lino print is patchy.
- Ink on the back of the shirt: there was no card inside. Put a barrier between the layers.
- Blurred or doubled edges: the block slid or the knit stretched. Set the block down once, press straight down and lift straight up.
- Print washes out: ink for paper was used, or the piece was washed before the ink cured. Essdee says its water based block ink is not permanent on fabric.
- Crooked repeat pattern: mark the positions before inking, with pins, chalk or guide threads laid across the fabric.
Quick answers
Short answers on block printing fabric at home. Curing rules are quoted from the ink makers, and the label on your ink overrides them.
- Can you do lino printing on fabric with normal block ink? No. Essdee says its water based block ink is not permanent on fabric and will wash out. Use a fabric block ink.
- Do you need to heat set block printing on T-shirts? It depends on the ink. Speedball says its fabric ink needs no heat set. Essdee says its fabric ink must be dried and heat set.
- What is the best type of fabric for lino printing? Smooth, tightly woven cotton. Rough weaves need more pressure and break up fine detail.
- How long before washing a block printed shirt? For Speedball fabric ink, listings say about a week. For other inks, follow the label.
- How do you lino print onto clothes without a press? Pad the table, place the inked block face down and press hard by hand or with a clean roller.
What you need for this
- See price on AmazonAmazon
Speedball Deluxe soft rubber brayer, 4 in
- See price on AmazonAmazon
SGHUO Pink Rubber Linoleum Blocks, 4x6, 12 Pcs
- See price on AmazonAmazon
Caligo Safe Wash relief ink, black, 75 ml
From Best Oil Based Block Printing Inks, Including Water-Washable