How-to
How to Make Linocut Christmas Cards: Card Stock, Ink and Drying
Published
As an Amazon Associate we earn from qualifying purchases. This does not change our picks. Affiliate disclosure
Short answer
Carve a block that leaves a margin of 1/2 to 3/4 in on the card front, for example a 3 x 4 in block for a 4 1/4 x 5 1/2 in card. Print one color with water based block ink on smooth card, placing every card against the same corner stop. Essdee puts drying at about 2 hours on a rack in a warm, dry room and far longer in the cold, so print some days before you mail.
Gear for this job
All 6 picks comparedSpeedball Printmaster paper, 9 x 12 in, 50 sheets
See price on AmazonSee it on AmazonStrathmore 300 Printmaking Pad, 8x10, 40 Sheets
See price on AmazonSee it on AmazonSpeedball Printmaking Paper Pad, 8.5x11 in
See price on AmazonSee it on Amazon
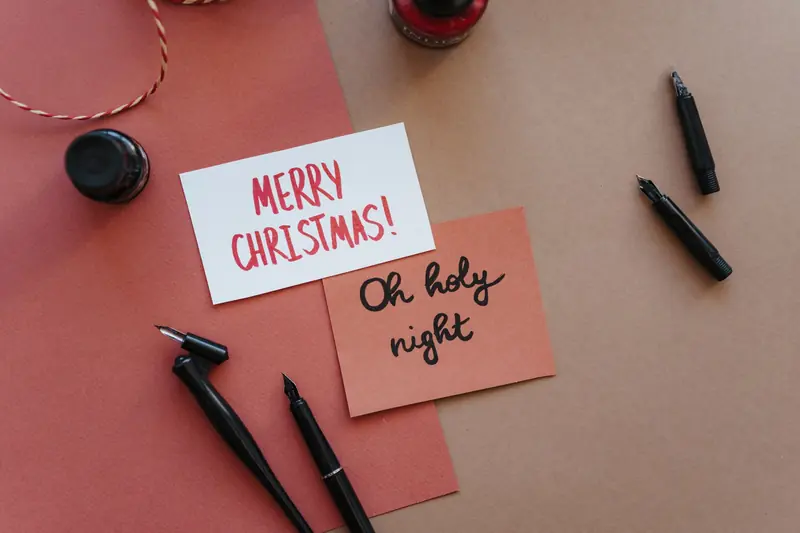
A batch of cards is a small edition: one block printed again and again in the same place. Three things decide how it goes. The card has to be smooth and light enough to print by hand, or you print on thin paper and mount it. The ink has to dry in time for writing and mailing. And the block needs a jig, so the last card looks like the first. Linocut, lino printing and block printing all mean the same craft here: a design carved in a linoleum or soft block, inked with a brayer (a roller) and pressed onto paper.
What size block for a linocut Christmas card?
Start from the envelope, because the card has to fit it and the block has to fit the card. Leave a margin of 1/2 to 3/4 in around the print. The margin hides small placement errors and gives your fingers somewhere to hold the card. The block sizes below are standard sizes of unmounted linoleum, so nothing has to be cut down.
| Envelope | Envelope size | Folded card | Block that fits |
|---|---|---|---|
| A2 | 4 3/8 x 5 3/4 in | 4 1/4 x 5 1/2 in (half a letter sheet, folded) | 3 x 4 in |
| A6 | 4 3/4 x 6 1/2 in | 4 1/2 x 6 1/4 in | 3 x 5 in |
| A7 | 5 1/4 x 7 1/4 in | 5 x 7 in | 4 x 6 in |
| C6 (UK and Europe) | 114 x 162 mm | A6, 105 x 148 mm | 3 x 4 in (76 x 102 mm) |
Which card stock takes a hand-pulled print?
This is where linocut greeting cards usually go wrong. One supplier guide gives about 40 to 160 gsm for hand burnishing and 170 to 300 gsm for a press, and a lot of blank cards and card stock sit in the press range. Check the gsm on the pack. Essdee says its block printing inks can be used on all grades of paper and card, so the ink is not the limit. Pressure is. Smooth card prints cleaner than textured card, and Essdee advises absorbent, matte paper for faster drying, which counts against glossy coated card.
- Print straight onto smooth card at the light end of the range, with a wooden spoon for extra pressure. See printing without a press.
- Print on thin paper, trim it and glue it to the front of a heavier blank card. The print is easy to pull and the card still feels solid.
- Use a small lever press for heavy card. The Woodzilla A5 takes a block up to 5.375 x 7.75 in, which is larger than any block in the table above.
Which ink dries fast enough for lino printing cards?
Water based block ink is the usual choice when there is a mailing date. Essdee gives about 2 hours on a drying rack in a warm, dry room, and says a cold studio can stretch that to weeks. It cleans up with soap and water. Its weak point: it stays water-soluble when dry, so a damp thumb or rain can lift it. The envelope protects it in the mail.
Water-washable oil ink, such as Caligo Safe Wash, gives more working time on the slab, but Cranfield states no fixed drying time. Allow days. Every maker figure is in the drying time chart, and the ink chart shows which ink suits which surface.
Linocut Christmas card ideas: three rules for a first design
On a block of 3 x 4 in every cut is small, and the design is printed dozens of times by hand. A simple design survives that. A fussy one fills in or prints patchy partway through the batch. A tree, a star, a holly leaf, a robin or a single bauble all work as plain silhouettes.
- Bold shapes. Solid areas and thick lines print cleanly by hand. Hairlines and tiny dots are the first things to fill with ink.
- One color. A second color needs registration and a second drying wait. Get variety from the color of the card or the ink instead.
- No small text. Letters must be carved in reverse, because the print is a mirror image of the block. Write the greeting inside by hand.
Note.Reverse the drawing before it goes on the block, or any lettering and one-sided designs print backwards. Methods are in how to transfer a design.
How to print a batch of cards with a simple jig
The jig is a base board with a fixed place for the block and a corner stop for the card. The block stays face up and each card is laid on it. The same idea, scaled up for several colors, is explained in how to register a linocut.
- 1
Cut the cards and score the fold, but keep them flat. An open card puts one layer over the block, not two. Add a few spare cards for test prints.
- 2
Take a piece of stiff board at least 2 in larger than the open card on each side. Tape two straight strips of thick card to it at a right angle. This is the corner stop.
- 3
Push an open card into the stop, set the block where the front panel lies, and mark around the block with a pencil. Tape thin strips along two sides of the outline so the block returns to the same spot.
- 4
Roll the ink out thin and even, to a velvety film that hisses lightly under the brayer. Ink the block in several thin passes and set it into its outline.
- 5
Lower the card with its corner in the stop and the front panel face down on the block. Press lightly with a flat hand, then rub the back in small overlapping circles, edges and corners twice.
- 6
Hold the card down, lift one corner to check, then peel it off. Lay each card flat on its own. Ink the block again before every card and wipe stray ink off the jig as you go.
How to tell the cards are dry enough to write and mail
Use a spare print as the test card. Rub a solid area gently with a clean fingertip. If nothing comes off and the ink no longer feels tacky, the batch is ready to fold, write and put in envelopes. If the finger picks up color, leave the cards spread out singly in a warm, dry room with moving air and test again later.
For planning, take the makers' range seriously: from about 2 hours in good conditions to weeks in a cold, damp room for water based ink, and days for oil based ink. Printing a week ahead of the mailing date leaves room for a slow batch, as long as the cards dry somewhere warm. Do not stack the cards or close the fold over the print until the test card passes.
Quick answers
Short answers for a first batch of printed cards. Drying figures are the ink makers' own statements, and the room changes them a lot.
- What ink is best for lino printing Christmas cards? Water based block ink when time is short: Essdee gives about 2 hours in a warm, dry room. Oil based ink needs days.
- Can you print linocut cards on card stock? Yes, on smooth card. Heavy card of 170 gsm and up needs more pressure, so use a spoon, a press, or print on thin paper and mount it.
- What size block suits linocut greeting cards? A 3 x 4 in block for a 4 1/4 x 5 1/2 in card and a 4 x 6 in block for a 5 x 7 in card.
- What are easy linocut Christmas card ideas? One bold silhouette in one color: a tree, a star, a holly leaf or a robin. Skip small text.
What you need for this
- See price on AmazonAmazon
Speedball Printmaster paper, 9 x 12 in, 50 sheets
- See price on AmazonAmazon
Speedball water-soluble ink set, 6 x 1.25 fl oz
- See price on AmazonAmazon
Speedball block printing baren, 4 in
From Best Barens for Linocut and Block Printing Without a Press
- See price on AmazonAmazon
SGHUO Beginner Linocut Kit