Block Printing Designs: Motifs, Repeat Patterns and What Prints Well
Published
Gear for this job
All 7 picks compared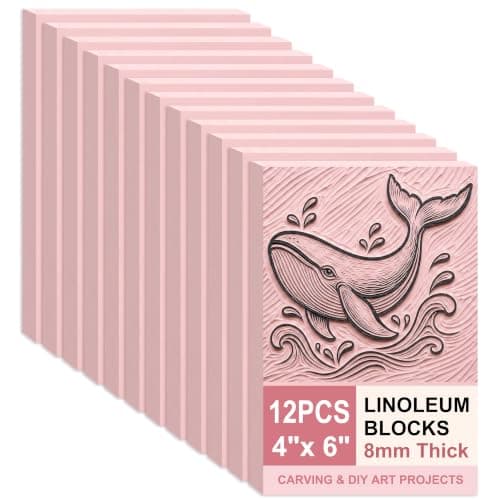
SGHUO pink rubber blocks, 4 x 6 in, 8 mm, 12 pieces
See price on AmazonSee it on Amazon
Speedball Speedy-Carve pink blocks, 4 x 6 in, 6-pack
See price on AmazonSee it on Amazon
Speedball 4196 Speedy-Carve block, 9 x 11-3/4 in
See price on AmazonSee it on Amazon
A good block printing design is one built from clear areas of solid ink and solid white, with lines thick enough to carve and print, and a balance between the two so the print is neither a dark slab nor a few thin lines. Start from bold shapes, plan the reversal, decide early whether the design is one image or a repeating pattern, and use the marks your gouges make as texture. The sections below cover each of these, plus motif ideas from traditional block printing.
Think in two values: ink and paper
A single-color block print has only two values. Every part of the design either stands up and prints or is carved away and stays the color of the paper. There is no gray unless you make it out of marks, so the first step is to turn your idea into a black and white drawing. Fill the areas that will print with a black marker. If it reads well as a black marker drawing, it will read well as a print.
From a photo, trace the main shapes on tracing paper, or use a phone or computer to raise the contrast until the picture breaks into pure black and white, then redraw it by hand. Do not try to carve a photo directly: soft gradients become muddy patches.
Aim for a rough balance. A design that is mostly white with thin lines looks weak and is easy to break while carving. A design that is mostly black needs a lot of even ink and pressure and shows every patch. Somewhere between a third and two thirds ink coverage is a comfortable range for a hand-printed block.
Black line vs white line designs
There are two ways to draw with a block. In a black line design, the lines print in ink and you carve away everything around them, like a pen drawing. It looks familiar but is slow to carve, because every line needs a cut on both sides, and fine black lines can break off soft blocks.
In a white line design, you start from a solid black block and the lines are the cuts, like drawing with a white pencil on black paper. One pass with a V tool makes a line, so it is fast and very forgiving, and the result has a strong graphic look. Many good beginner prints mix both: white line detail inside large black shapes.
Size the lines to your tools. A small V gives a white line around 1 mm wide. Standing black lines should be at least about 1 mm wide on soft rubber and can go a little finer on firm lino. If your drawing has lines finer than that, thicken them before transferring.
Texture: using the gouge marks
Since a block print has no gray, texture does the job of shading. Parallel lines cut with a V tool read as a mid tone; the closer and wider the cuts, the lighter the area looks. Crosshatching gives a darker tone than lines in one direction. Short flicks of a small U gouge make fur, grass, water or a stippled sky. Dots made by pressing a round gouge straight in give a fine speckle.
Follow the form: cuts that curve around a shape make it look round, and lines that follow the direction of hair, wood or waves make the surface believable. Keep each area to one kind of mark, then change mark between areas so neighboring shapes separate.
Leave some solid ink and some clean white in every design. A print made entirely of texture looks busy; texture works best between areas of plain black and white.
Repeat patterns for fabric and wrapping paper
A repeat block is designed so prints placed side by side join into a continuous pattern. The layout decides how the pattern looks. A straight or block repeat places the stamp in a simple grid. A half-drop moves each column down by half the block height, which hides the grid and gives a more natural all-over look. A brick or half-step repeat moves each row along by half the block width. A mirror repeat flips alternate prints, which needs a second block carved as the mirror image, and a rotation repeat turns one square block through 90 degree steps to make four-way patterns.
Design the motif so it does not touch the edges in a way that makes a hard line. If part of a shape runs off one edge, the matching part has to come in on the opposite edge at the same height for a straight repeat, or offset by half for a half-drop. Cut the block exactly square, and mark the center of each side on the back or the mount so you can line it up.
For long lengths of fabric, mark a light chalk or pencil grid on the cloth first and print to the grid. Leave a small gap between impressions rather than trying to butt them edge to edge; a tight join shows every small misplacement.
Motif ideas from traditional block printing
Indian hand block printed textiles are a good source of designs that are made for blocks. A buti is a small single motif, such as a flower, leaf or paisley, scattered across the cloth in a half-drop. A jaal is a connected net or trellis pattern that covers the whole surface. Borders are long narrow blocks printed along the edge of a scarf, tablecloth or sari. Ajrakh from Gujarat and Sindh uses dense geometric stars and medallions in deep red and indigo.
Other motifs that suit blocks: florals reduced to a few petals and a center; leaves and vines that can link from block to block; birds and fish in profile; geometric stars, circles and lattices; stylized suns, waves and mountains in the manner of Japanese woodblock prints. Simplify them: real hand blocks rely on bold shapes and the slight irregularity of hand printing, not on fine detail.
Lettering works too, as long as it is carved reversed. Short words, initials and dates suit cards and tote bags; long sentences take a long time and rarely look better.
From drawing to block
Draw the design at the exact size of the block, then decide how it will be reversed. A soft pencil tracing rubbed face down onto the block arrives reversed, which is what you want for the print to come out the right way. Carbon paper copies the drawing as it is, so trace from a mirrored copy. On lino, a laser print or photocopy can be ironed on through baking parchment, which also reverses it. Do not iron onto soft rubber blocks; heat warps them.
Go over the transferred lines with a fine permanent marker and fill the areas that will print, so you never lose track of what to cut. For a design with more than one color, draw each color as a separate black and white layer, either for separate blocks or as the stages of a reduction print.
Frequently asked questions
What makes a good first block printing design? A bold design with large simple shapes, no lettering, and lines no finer than about 1 mm. A leaf, a bird or a simple landscape in black and white, about 4 x 6 in, is a comfortable size for a first print.
Do block printing designs need to be reversed? Yes, anything that has a left and right, especially text, must be reversed on the block, because the print is a mirror image of the block. Symmetrical designs do not need reversing.
Can I use someone else's design for block printing? Copying a design for your own practice is common, but selling prints of another artist's work, or of a trademark or character, can infringe copyright. Use your own drawings, public domain sources or designs whose license allows it.
How do I make a block printing design repeat? Make the block exactly square or rectangular, plan where shapes cross the edges so they continue on the opposite edge, and print to a light pencil or chalk grid using a straight, half-drop or brick layout.
What you need for this
- See price on AmazonAmazon
SGHUO pink rubber blocks, 4 x 6 in, 8 mm, 12 pieces
 See price on AmazonAmazon
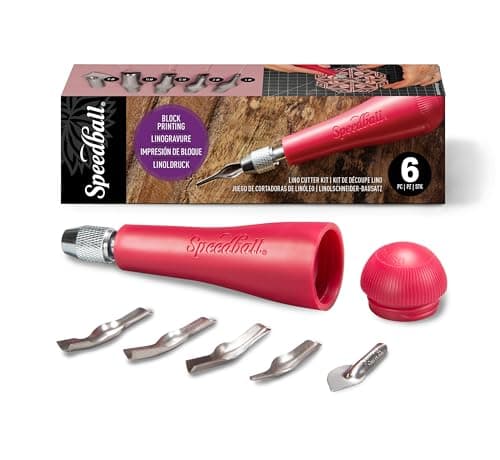
Speedball 4131 lino cutter set, 5 cutters and handle
From Best Lino Cutting Tool Sets: Handles With Interchangeable Blades
 See price on AmazonAmazon
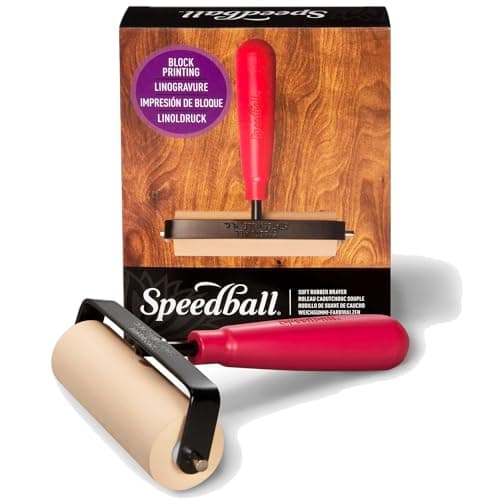
Speedball Deluxe soft rubber brayer, 4 in
 See price on AmazonAmazon
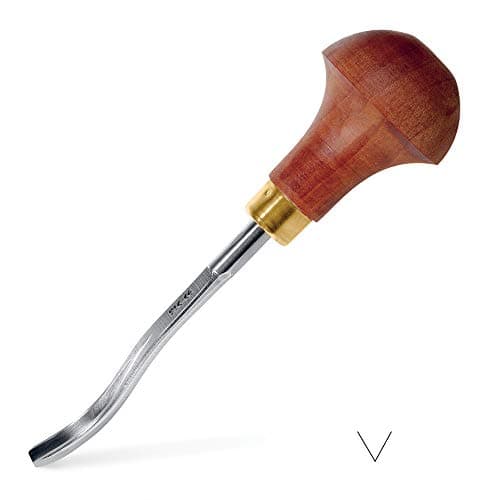
Pfeil L 12a/4 lino cutter, V tool, 4 mm