Linocut Stamp Ideas for Beginners and Beyond
Published
Gear for this job
All 7 picks compared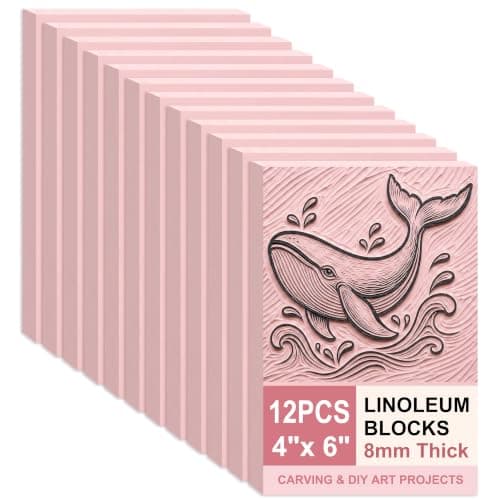
SGHUO pink rubber blocks, 4 x 6 in, 8 mm, 12 pieces
See price on AmazonSee it on Amazon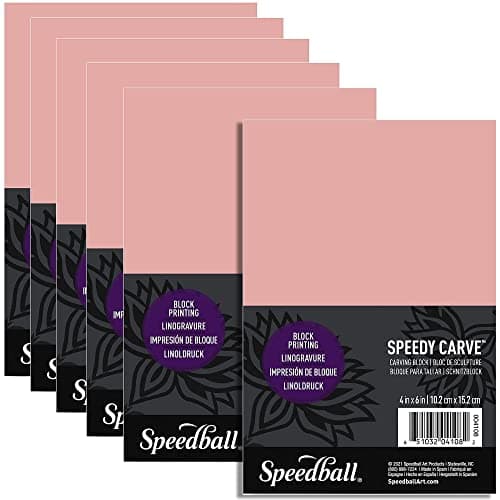
Speedball Speedy-Carve pink blocks, 4 x 6 in, 6-pack
See price on AmazonSee it on Amazon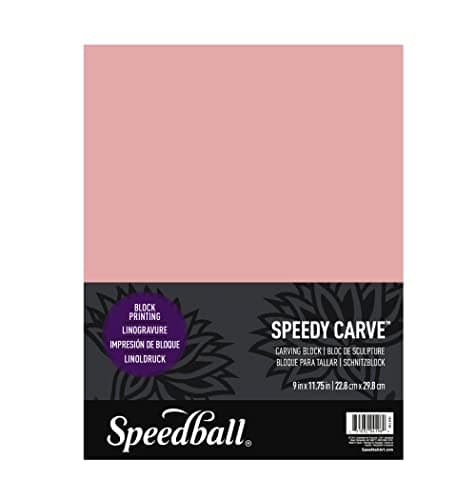
Speedball 4196 Speedy-Carve block, 9 x 11-3/4 in
See price on AmazonSee it on Amazon
Good first linocut stamps are bold silhouettes with no thin lines: a moon, a leaf, a mushroom, a star, a simple fish. Once those print cleanly, move on to pattern tiles that repeat, then lettering and useful stamps such as a return address or a bookplate. The ideas below are grouped by difficulty, with notes on size, the gouges that suit each one and what tends to go wrong.
Easy stamp ideas: bold silhouettes
These work because the whole shape prints solid and you only carve the outline and clear around it. Keep them 1 to 2 in across so a 3 x 4 in soft block gives several stamps. Ideas: crescent moon, full moon with a few craters, five-point star, heart, raindrop, cloud, mountain triangle, simple leaf, mushroom cap and stem, cactus, pear or apple, fish, whale tail, bird in profile, cat sitting seen from behind, house with a pitched roof.
Carve them with a small V tool around the outline and a medium U gouge to clear the rest. Trim the stamp out with a knife a few millimeters outside the shape so no spare edge picks up ink. If a silhouette looks flat, add one or two cuts for detail: a vein down a leaf, gills under a mushroom cap, a single line for a bird's wing. One or two strong cuts read better than many weak ones.
Pattern stamps that repeat
Small geometric stamps are the most useful ones to own, because you can build borders, wrapping paper and fabric patterns from them. Cut them square so they butt up against each other. Ideas: a 1 in square with a diagonal line, which makes zigzags and diamonds when rotated; a quarter circle in a corner, which makes circles, waves and scallops when turned; a triangle; a half-moon scallop; a dot made with a round U gouge pushed straight in; a small cross; chevrons; a simple four-petal flower.
The trick is accuracy. Cut the stamp outline with a ruler and a knife rather than by eye, and mount it on a square block so you can line the edges up by feel. Turning one quarter-circle tile through 0, 90, 180 and 270 degrees gives dozens of layouts from a single carving.
Make small registration notches on the mount, not on the rubber, to show where the corners are. A pencil grid on the paper makes repeats line up.
Nature and seasonal stamps
Plants are forgiving because nobody knows exactly what your fern should look like. Ideas: fern frond (a center line with alternating leaflets), ginkgo leaf, monstera leaf with its slits cut out, sprig of lavender, pine branch, acorn, sunflower head with a crosshatched center, wave, sun with straight rays, bee, butterfly with mirrored wings, snail shell spiral.
Seasonal stamps sell and get used: snowflake (draw one sixth and repeat it), holly leaf and berries, small fir tree, mitten, pumpkin, autumn leaf, Easter egg with stripes, heart for Valentine's cards. They suit cards, gift tags and wrapping paper. A small tree, star and snowflake are enough to print a full set of Christmas cards by mixing them.
For fine stems and veins, keep standing lines at least about 1 mm wide on soft rubber. Thinner lines bend under the tool and break off or print unevenly.
Lettering and practical stamps
Text is the hardest common stamp because it must be carved reversed and every letter shows a slip. Start with a single initial, then two-letter monograms, then short words such as thank you, hello, handmade or a name. Draw the letters normally, trace them in soft pencil, and rub the tracing face down on the block so it arrives reversed. Keep letters around 1/4 in (6 mm) tall or larger on soft rubber; smaller letters fill in with ink.
Practical stamp ideas: return address for envelopes, ex libris bookplate with your name, a loyalty card stamp for a market stall or coffee cart, a logo for packaging and kraft bags, a teacher's well done stamp, a recipe card header, a this belongs to stamp for kids' books, a date box for a journal, checkbox and habit tracker stamps for a planner.
For text, the outline-only method is easier than solid letters: carve a thin channel around each letter with a small V and only then clear the background. Fine detail tools, such as Japanese or professional single cutters, make small lettering much easier than a standard push-in set.
Ideas that use more than one stamp
Layered stamps are a simple way into multi-color printing. Carve a solid shape for the base color and a second stamp with only the details for the top color. A strawberry is a classic first one: a red solid berry, then a dark stamp with seeds and leaves. Others that work: a pot and a separate plant, a mug and steam, a house and its windows, a planet and its ring.
Print the base, let it dry briefly, then line up the second stamp by eye using the edge of the mount. Clear acrylic mounts help because you can see where you are placing it. Some misregistration is part of the look of hand stamping, so leave a little gap between colors instead of trying to make edges meet perfectly.
Scene sets also work well: a set of small stamps such as a tree, a hill, a sun and a bird can be combined into many different little landscapes.
Frequently asked questions
What is the easiest linocut stamp to carve? A solid silhouette with smooth curves, such as a moon, a leaf or a heart, about 1 to 2 in across. It needs only an outline cut and a little clearing, and there are no thin lines to break.
What size should a linocut stamp be? Most hand-held stamps are between 1 and 3 in. Under 1 in, detail gets hard to carve and to ink evenly. Over 3 in, a stamp is hard to press evenly by hand and prints better with a brayer and baren like a small block print.
Should I use lino or soft rubber for stamps? Soft rubber is the usual choice: it carves easily, does not crumble, can be cut to shape with a knife and prints well with hand pressure. Gray lino holds finer lines but needs firm mounting and more pressure.
Can I use linocut stamps on fabric? Yes, with a fabric ink pad or fabric block printing ink rolled on with a brayer, then cured as the maker says. Press firmly on a padded surface so the ink goes into the weave.
What you need for this
- See price on AmazonAmazon
SGHUO pink rubber blocks, 4 x 6 in, 8 mm, 12 pieces
 See price on AmazonAmazon
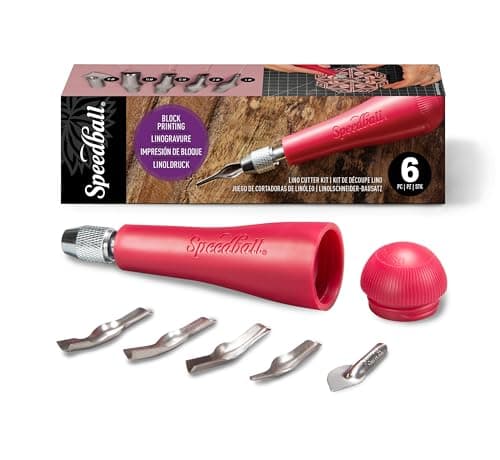
Speedball 4131 lino cutter set, 5 cutters and handle
From Best Lino Cutting Tool Sets: Handles With Interchangeable Blades
 See price on AmazonAmazon
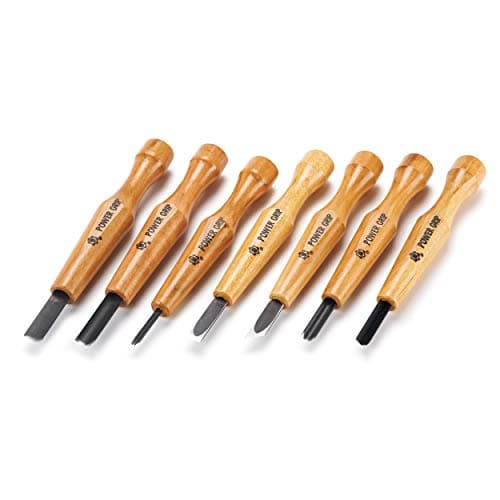
Mikisyo Power Grip carving tools, 7-piece set
 See price on AmazonAmazon
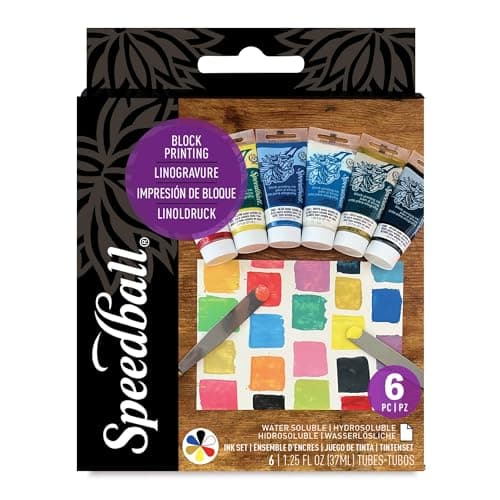
Speedball water-soluble ink set, 6 x 1.25 fl oz